The Elgato Stream Deck has been a must-have device for broadcasters since it released. But due to its versatility, users have found a number of other uses for it as well.
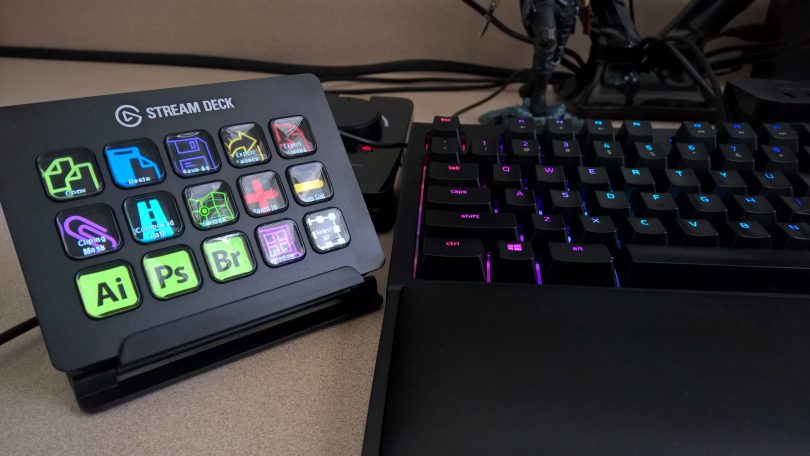
For example, it’s often used with shortcuts in editing applications, like so:
Always love new an innovate products in our industry. The @elgatogaming Stream deck is not only great for streamers, But great for designers too! My stream deck is setup with a number of my commonly used @Adobe Illustrator Shortcuts! pic.twitter.com/2LCATRARtJ
— n00blet x Meta Threads (@siqueirosdavid) May 3, 2018
But another great use for it is to control the various Smart Home devices you might have in your home. Here’s a quick tutorial on how to get that working:
Step 1: Sign up for IFTTT
IFTTT is a great free way to handle basic automation in your life. For example, if you want to receive an email in the morning when there is rain in the forecast that day, that’s a pretty common “recipe” where the app watches “if this, then that” and connects the dots for you. Really can be a powerful helper in your everyday life.
Step 2: Search for and connect your smart devices in your home to IFTTT
For example, I own a Nest Thermostat. So I search for Nest and connect my account through the guided steps:

IFTTT supports all kinds of home automation devices. For example, the Philips Hue, WeMo, MagicHue, and dozens of other light or home appliance systems:

In fact, we’ll go out on a limb and say that if Google Home or Amazon’s Alexa services can connect to the devices, IFTTT can as well. Sometimes it’s not super obvious, however. For example, I have Tuya brand lights in my office that work with a service called “Smart Life”. Each service will have a “Connect” button that’ll require you login with credentials for each of the connected devices in your home that you’d like to use with IFTTT. Can take a minute to find which service goes with which devices. You can start with one or two and add the rest later. Or connect services during applet creation.
Step 3: Set up webhooks
A webhook (for the purposes of what we’re doing) can just be thought of as a “trigger”. When this unique URL is loaded, this trigger will set up a chain reaction of the rest of the “applet” or recipe of actions that are stored in IFTTT. (button press -> opens a webpage webhook -> triggers applet -> turns on device that was connected previously).
A limitation (currently) of this guide is that you’ll need to set a “trigger” to turn on the light or home device, and additional triggers to turn them off or adjust the settings. There is no current way to just toggle a service on and off with a single button. This may change in the future if Elgato and IFTTT had a more native connection method. Which would be amazing.
To activate webhooks for your account, open this link: maker.ifttt.com (which redirects to: https://ifttt.com/maker_webhooks).
Select “Connect”. This is a one-time process that’ll generate the webhook URL you’ll use for all your applets.
To view the webhook URL that it generated for you, click the “Documentation” link that’ll appear once you’ve connected. We’ll use that in the last step, so feel free to copy that out now or keep that tab open.
Step 4: Create the Applet
Click “New Applet” or go here: https://ifttt.com/create
The first step of these will always be a webhook. So go ahead and search for “webhook” as the chosen trigger, and then select the only option that comes up, which is “receive a web request”.
Give it a name. Can be up to you. The first applet I’m wanting to make is to kick on the fan for my Nest thermostat, so I’m going to give it a name of “run_fan”, and then click “create trigger”.
So that was the “If this”, and now for the “then that”, I’m going to search for Nest which I connected earlier and choose the “turn on fan for 15 minutes” option.
It’ll ask me which device if I have more than one and I’ll finish by selecting “create action”.
I don’t want notifications every time this applet runs, so I’ll turn that off on the next step and select “Finish”.
Step 5: Create the buttons in your Stream Deck
Ok, head over to the Stream Deck software. If you’re not sure it’s installed, or you want to make sure you’re on the latest version, here’s where you can find that software: https://www.elgato.com/en/gaming/downloads
In a profile, add in a SYSTEM, WEBSITE button type. As seen in the screenshot:

Ok, remember that webhook URL you created and saved earlier? Here’s where you use it. Again, it can be found by going to https://ifttt.com/maker_webhooks and then clicking “Documentation”.

So that name you gave the applet earlier? Insert that into the webhook URL to generate the final URL. In this case, my final URL would be: https://maker.ifttt.com/trigger/run_fan/with/key/hahaiwouldnevertellyou
You will re-use that same URL for each button/applet you create, just make sure you give each applet a unique name. Oh, and don’t give out your key to other people unless you want them messing with your home systems remotely.
So now just paste that full URL in, give it a fancy little icon (if you want, looks nicer than text), and check the “Access in background” button.

And that’s it!
Just repeat the process of connecting, creating webhook-triggered applet, pasting the URL in as a new website button on the Stream Deck for each new service you’d like to control. Go crazy with it! Have a button that turns your RGB lights in your office to pink! Lower the lights and drop the disco ball! Buy some “smart plug” devices in 4 packs off Amazon and control basically everything in your house with it!
Hat tip to IceyAus on Reddit for the idea and to Steggy from Elgato for the help.